10 Sep 5 Things to consider before you start your construction time-lapse
If there’s one thing to say about time-lapse, it’s that it’s great for construction. It’s increasing in popularity amongst the construction industry year by year and it is clear to see why. Time-lapse can document developments in high-speed and high-quality, making it a perfect fit for press releases or marketing material. But, it can also go above and beyond and act as CCTV for sites.
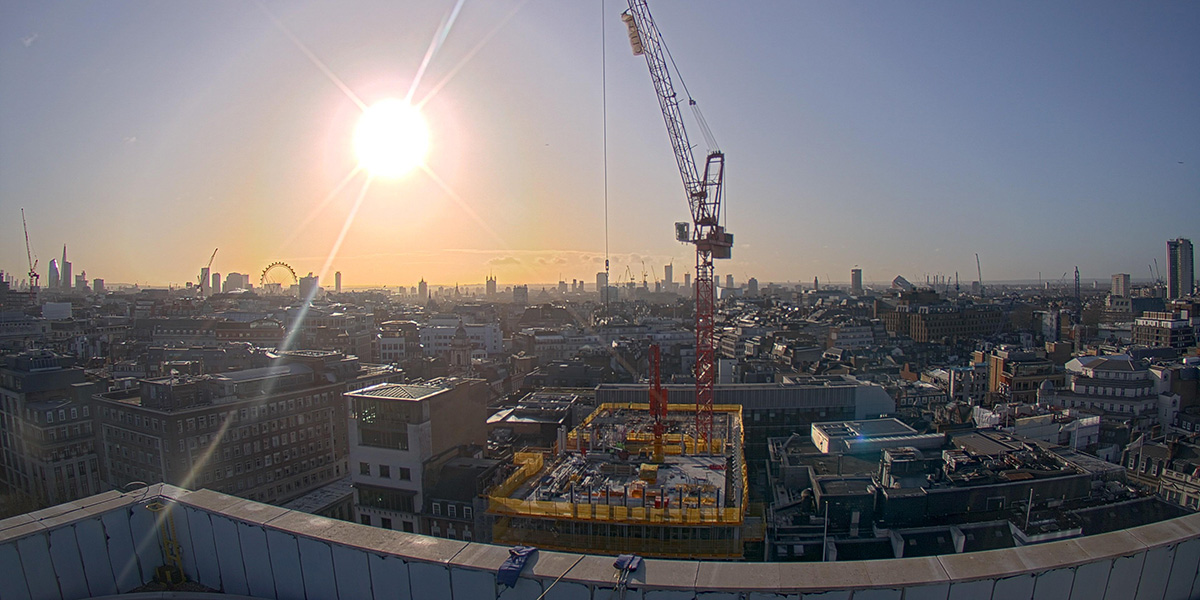
One of our Time-lapse Films
It’s safe to say even clients are beginning to see the benefits of time-lapse; we’ve had many companies approach us in need of a film as clients have stated for one in their contract.
With all that being said and done a time-lapse film is worthless if it isn’t done properly. To ensure your time-lapse production runs smoothly there are several conditions that need to be met and points that need addressing. You want to get the most out of our time-lapse right? Keep reading as we explore 5 things you need to consider before you start.
1) Lens
One of the first things to consider is the lens itself. The lens is important. Normally we recommend a lens with at least 107-degree field of view which should allow you to capture everything you need on your construction site. Anything less could mean that you miss something.
But, there is also 180-degree lenses. Their use with Google StreetView means there is a lot interest in them and they are being used more often. The main advantage is that you can see more of the site whilst being very close. And, of course, you could need fewer cameras.
However, it is at the cost of that rather odd “barrel distortion”. There is de-warping software that will correct some of the fish-eye effect.
Have a look at this example of a new Sports Centre build, we worked on in hackney.
2) Resolution
There are three types of resolutions we specialise in.
- 1080p
- 4K
- and 20K
1080p
1080P – is not bad at all. We recommend using this resolution if your construction site is small or you are filming inside. Overall, it’s a great option for monitoring as you won’t need this kind of footage to be Ultra High Quality.
4K
Then there is 4K. This is pretty much the industry standard for time-lapse films and it is clear to see why. It’s safe to say they are of excellent quality and very good value. If you are wanting to put together a marketing film for your construction company, or a piece of content for your clients, then 4K is your go-to.
20K
20K is the equivalent of going above and beyond. If you have a large site that needs to be covered or money isn’t an issue, you could go for this higher resolution. The detail on this resolution is exceptional. Your clients and website visitors will be thoroughly impressed with a piece of work in 20K. Additionally, it can offer perks for monitoring as it can allow more high-definition zooming in.
A snippet of this is below.
3) Location
Usually, when it comes to choosing the location, this is down to common sense and a matter of opinion or even practicality. Often there is only one practical place to put the camera and this is very often determined by the power supply.
When selecting the location, you are looking to maximise the field of view. In short – you are trying to get as much of the site in as you can. And there are two ways to do this.
Firstly – The lens – as we have already discussed you need quite a wide lens. A minimum 107-degree field of view.
And then you need some distance and an unobstructed view. The most likely way to get an unobstructed view on a site is by using height.
So how can you achieve height?
There are a lot of ways to get height including masts, towers, scaffolding, adjacent buildings and cranes. Out of all these options, we would recommend a mast. They are easy to install and offer great results. But if you are after something more affordable, using Scaffolding is your best bet.
4) Angles & privacy
This leads us to our next point. Angles. Sometimes getting the right angle can be a pain, especially if your site is near or has difficult landlords. You may end up in contracts or even legal issues. However, if you can find a friendly landlord, it is a great solution.
Also, if your neighbours are wanting to protect their land from being shown, we can apply a privacy mask that blurs part of the image needed.
As we mentioned before, putting a camera on a tower crane and having it from a height is a very good shot. But, there are some considerations. Firstly the installation is obviously more tricky. Mainly because you have to deal with the crane operator. But, the biggest consideration is that cranes move, a lot. You need to consider this when you are making the final film. We can do something in post-production but it is not perfect.
5) Marketing
So you’re at the last hurdle and you have your professional-looking time-lapse film. Now what? You can do more than simply putting the time-lapse video on your website.
The best use of your film is to add other content like drones, plans, photographs and other video content into a broader marketing film to show the businesses capabilities.
You should also edit your film into social media posts. Particularly if you are demonstrating a specific subject or skill.
A time-lapse film also adds value to press releases.
To conclude
With all this in mind, we hope you take away the knowledge you need to create an exceptional time-lapse film. If you wish to work with us, please contact us at info@solutions.co.uk
Or give us a bell on 0203 174 2575


